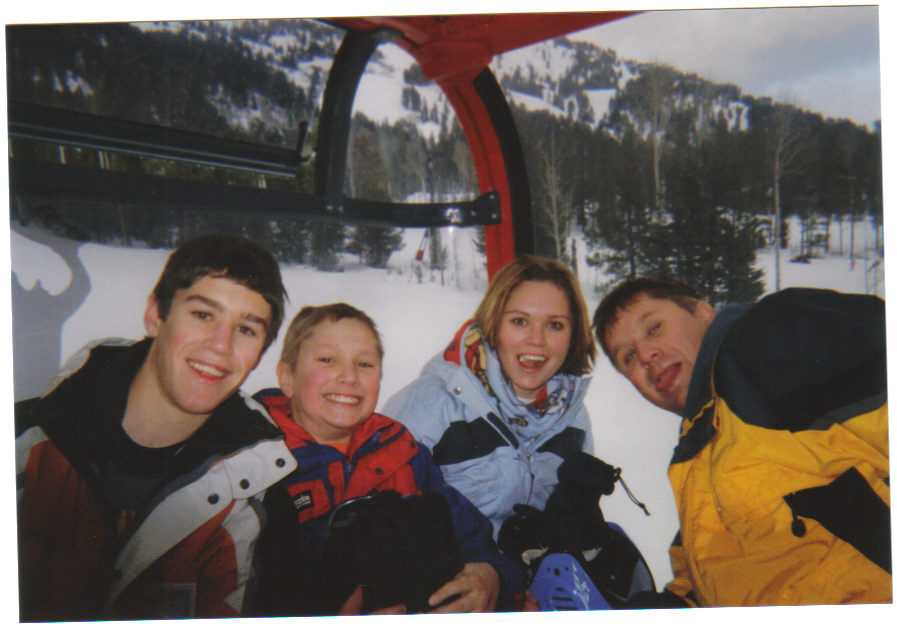
I know the temperatures flirted with 70 degrees this week, but I can assure you it isn't spring yet! I'm still hitting the slopes. For those of you who have thought about it, but are still a bit too timid to try, here is a tutorial to help you decide. For the avid skier, it's just fun to reminisce.
Step One: Find a Friend
The initial desire to snow ski most often occurs when one becomes acquainted with an avid skier. Just as yawning can be contagious, the excitement emitted by skiing enthusiasts promotes envy and curiosity not easily denied. Hopefully, the skiing friend is also blessed with good communication skills and abundant patience.
Step Two: Find a Mountain
Any mountain will do, as long as it comes equipped with snow and some form of mountain ascending apparatus such as a chair lift, gondola, tram, or even the ever eventful rope tow. Instructions will follow.
Step Three: Locate Equipment
A few items of protective gear are necessary to ensure fun and safety on his maiden voyage into the great white wonderland of downhill skiing. Clothing that is both warm and comfortable is most suitable. Style is underrated at this point in one’s skiing career. It is folly to don expensive clothing that will only call attention to one as he is careening out of control down a mountain slope! Something that screams, “I borrowed all these clothes because I really don’t know what I’m doing and don’t plan to invest in style until I have survived my first outing,” will gain the most tolerance and empathy from onlookers. Layers of clothing will provide the most warmth and cushion. Yes, cushion will be needed! Gloves, socks, and some kind of head wear will protect extremities from the cold and other occurrences. A helmet is recommended. Other necessary items are eye covering (sunglasses or goggles will do), ski boots, skis, poles, and Ibuprofen.
Step Four: Tap Savings Account
Skiing is not an inexpensive sport! After the obvious costs of equipment and ski passes, one must face the hidden costs associated with this winter sport.
Transportation to ski resort. Do you live in Vail, Colorado? Probably not. Then some sort of travel will be required, whether by train, plane, bus, or the ever affordable thumb. Yes, skiers do hitchhike.
Lunch money. It isn’t called a resort for nothing. Food is not cheap on the mountain. After paying the exorbitant lift ticket price, one will be determined to spend the entire day to “get his money’s worth.” Hunger will ensue. Depending on the notoriety of the resort, one may eat a sack lunch in the friendly local lodge, or he may pay as much as ten dollars for a bowl of soup and three dollars for the bottle of water required to wash down two Ibuprofen tablets.
Rental fees. Unless one is fortunate enough to have a friend with not-so-used equipment and the boots just happen to fit, he will be required to pay an average of $30 for rental equipment. This is not a year long lease. It only covers use for one day on the mountain!
Replacement gloves. See rope tow instructions.
Chiropractor or emergency room fees.
Step Five: Travel to Ski Area
Did you remember the Dramamine? The trip to the ski hill, unless originating in the mountains, will require some travel upward. If one is fortunate, a highway may deposit him at the base of the mountain. More often, several miles of sharp hairpin curves precede arrival at a ski area. One of the most notable is Bogus Basin Road. Located a mere sixteen miles from the busy metropolis of Boise, Idaho, Bogus Basin Ski Resort is a relatively well kept secret simply because the trip is not for wimps!
Step Six: Don Ski Gear
After piling layers of clothing onto a shivering body (the shivers may be due to slowed circulation promoted by nervousness) one must now insert feet into ski boots. This may take some time.
Ski boots, however expensive and attractive in color and design, are not typically user friendly, especially for the novice. Fortunately, the human ankle flexes! If one’s youth, agility, and multiple clothing layers permit, bend over and grasp top of boot with both hands, prying it open simultaneously balancing on one leg and inserting toe into top of boot. If one is still upright, transfer entire bulk of body weight onto leg sporting ski boot and attempt to force foot further into boot until sole rests on boot foot bed. If this method is unsuccessful, transfer entire bulk of body weight onto back of friend while said friend pries open ski boot. Insert toe as previously described. When foot is secure in boot foot bed, stand upright and suck in much needed breath. Take two if necessary. Bend over again and tighten buckle clasps, taking care to keep fingers, gloves, cute stocking cap tassels, and other significant items free of boot buckles.
Step Seven: Locate Ice Pack
Having closed boot buckle on index finger, one must quickly apply cold pack to reduce swelling and discoloration. Remember, you are on a mountain in winter. Locate nearest snow bank and plunge finger into the cold source.
Ask friend to buckle boots.
Step Eight: Repeat Step Six
Omit Step Seven if possible!
Step Nine: Click On Bindings
This is the process of attaching skis to boots. Once again, balance or the employment of a patient friend is necessary. Place skis parallel to each other on a flat snowy area. Flat is the operative word. Stand to the left and center of skis.
Ensure ski bindings are in the OPEN position. (You don’t really have time to learn the difference today so just ask your friend to check.)
Grasp a ski pole in each hand and plant firmly into snow on either side of skis.
Raise one foot in preparation to attach binding. This will be surprisingly difficult as ski boots are larger, heavier, and less comfortable than everyday footwear.
Insert right toe of ski boot into front binding of respective ski. In one smooth action, transfer entire body weight onto right leg and catch rear binding squarely with heal of boot. Anticipate loud click confirming binding is engaged.
No click? You missed, or you wimped out! Try again. This time, keep boot straight and actually transfer weight onto right leg rather than onto the security of ski poles.
Step Ten: Whoa!
I said “flat” snowy area. Skies will lie deceptively still until weight is applied, at which time they will travel in a downward direction – forward or backwards – depending on the slope of the snow they are resting upon!
If you maintained possession of your ski poles during your little ride, use them to help yourself to a standing position. Ski should still be attached to boot. If not, pick it up and repeat Step Nine.
Step Eleven: Locate Left Ski
Once you are upright, get a visual on your missing ski. Then get a visual on a nice looking stranger close to your ski and call to them, pleading for assistance. Your skier friend will be of no service as he is currently engulfed in tearful guffaws.
Step Twelve: Repeat Step Nine
Successfully. At this point your friend should have recovered from his belly busting bliss and is now ready to instruct you in mobility and control.
Step Thirteen: Mobility
Can you do the splits? Commonly known as a snow plow or piece of pizza, the wedge is the first ski technique (after apparel donning and equipment engagement) one must learn. Mastering the wedge allows for stopping and turning, two very important skills for an individual careening downhill on a tree lined slope.
This is accomplished by bringing the tips of ones skis almost in touching position while spreading feet and ends of skis far, FAR apart. When performed properly, the wedge feels as if one is attempting the Chinese Splits!
Step Fourteen: Quack, Quack!
Having perfected the “stop” skill of the wedge, it is now time to move. Maintaining wedge position, begin walking like a duck. This will allow you to move up or downhill, as well as apply brakes when necessary. Make your way to the rope tow.
Step Fifteen: Do the Shuffle
Failing to make skis move, tiring of the wedge, and desperately needing relief of wedge induced hip cramps, give up and do the shuffle. This is not an approved ski technique, rather an act of desperation. It is accomplished by attempting to walk in ones skis. Unfortunately, the forward motion of one foot forces the slick underside of the opposite snow ski in a backwards direction, resulting in one step forward – three-quarters step back.
Not to worry, skier friend will presently become frustrated and help you to the rope tow. This will involve holding on to his ski pole while he drags you forward, or having his gloved hands push you from behind. Either way, you get a much needed rest!
Step Sixteen: Encounter the Rope Tow
It’s not really a rope. It’s a cable! And you have to hold onto it while it drags you up the bunny (beginner) hill. You must now forget everything you have learned about skiing techniques to-date. In other words, “Don’t snow plow!”
Duck walk or shuffle your way to a position lateral (that means beside) the moving cable. Skis should be parallel to one another and parallel to the cable. Hopefully, the snowy surface beneath is flat!
Squat. That’s right, bend knees so that legs are flexed and springy! This may be difficult depending upon the time and energy exhausted while learning the wedge position!
Maintaining squatting stance and keeping skis straight, gently move hands into a position around the cable similar to that of a golfer’s grip. Patiently close hands around cable and allow it to pull you towards the top of the slope. Immediately the need for springy flexed legs will become apparent. Now the rope tow is in charge!
If one is able to maintain his stance, the cable will bring him safely to top of slope where he must quickly let go of the cable, move skis into a slight wedge to allow them to turn away from the cable, and then form a stronger wedge to come to a complete stop.
Unfortunately, this is easier instructed than accomplished.
Step Seventeen: Damage Control
That little stance while holding onto cable wasn’t so easy, was it? Having moved several yards along the tow path before losing one’s balance and crashing to the ground, skier must now repeat Steps Ten, Nine, Sixteen and quite possibly Step Eleven. In that order! Skier friend will once again be doubled over in uncontrollable fits of laughter.
Repeat Step Sixteen successfully.
Step Seventeen: Ski!
Having made his way to the top of a small slope – remember, bunny hill is short for, “You really don’t have any business being here” – it is now time to careen down the slope. Maintain a wedge! Point skis downhill and let ‘em run! Do one’s best to avoid contact with any object not made of snow such as other skiers and/or their equipment. It would be good to cover some control and turning points; however, the skier and this writer are nearly exhausted. Skier will most assuredly be too excited or scared to recall any techniques other than the wedge; therefore, those points will not be covered at this time.
Step Eighteen: Do One or More of the Following.
Take four Ibuprofen, see your chiropractor, or … visit the emergency room of the nearest hospital.
Hi Carol! Love your tutorial! We need to VT ASAP! Nikki
ReplyDelete